Metrology

In order to be able to make a statement regarding the dimensional accuracy of the individual processes and printers, in the ComPrintMetal3D project each sample is 100% scanned with a Zeiss Comet L3d 5M 3D and thus digitized. To verify these results, a small number of samples will also be measured tactilely on the Zeiss DuraMax. A report is then created from this data, which divides the processes and devices and shows the comparison.
You can find more information about the equipment used in the following accordion. If you have any further questions, please feel free to contact us.
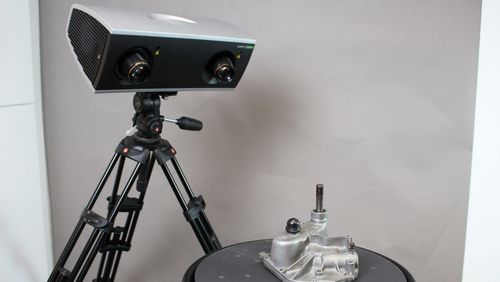
Zeiss Comet L3D 5M

Zeiss Comet L3D 5M

The Comet L3D 5M is a scanner that captures the object by means of strip light projection. The captured images are assembled by software support and a point cloud is obtained, which can be further processed. Click here to learn more about this device.

Ways to do this:
• Initial sample inspection report
• Reverse engineering
• Production monitoring

The accuracy of the measuring system is 30-80 μm, depending on the measuring field used.

Location: Environmental Campus Birkenfeld

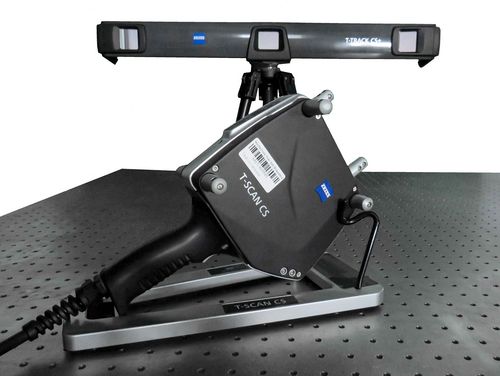
Zeiss T-Scan CS

The T-Scan CS is a laser scanner that detects an object using the line intersection method. The system comprises 2 measuring units that are required simultaneously. This makes it possible to take pictures of an object in a working space of approx. 6.4 m³. The received recordings are put together by software support to receive a point cloud which can be processed further.

Ways to do this:
• Capture large objects
• Reverse engineering

The accuracy of the system is in the range of 50μm±50μm/m.

Location: Environmental Campus Birkenfeld

Zeiss T-Scan CS
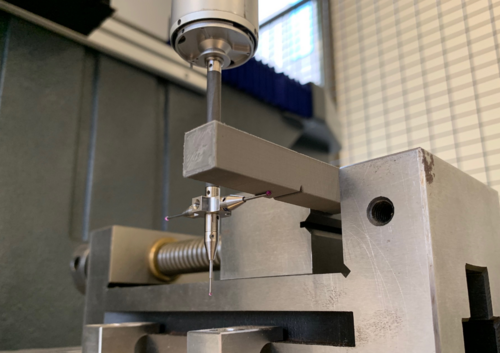
Zeiss DuraMax

Zeiss DuraMax

The DuraMax from Zeiss is a coordinate measuring machine to measure surfaces in all 3 dimensions. Measurements with very high accuracies can be achieved via the single point measurements. Measurements can be performed both manually and CNC supported.
The length deviation is 2.7 µm+ L/250 (at 18-26°C) and the measuring range is 500x500x500 mm.

Ways to do this:
• Initial sample inspection report
• Production monitoring

Location: htw saar

Prof. Dr.-Ing. Michael Wahl

Prof. Dr.-Eng. Michael Wahl

Professor of Environmental Planning/Environmental Engineering Faculty – Department of Mechanical Engineering

LOCATION

Birkenfeld | Building 9916 | Room 136

Homepage